
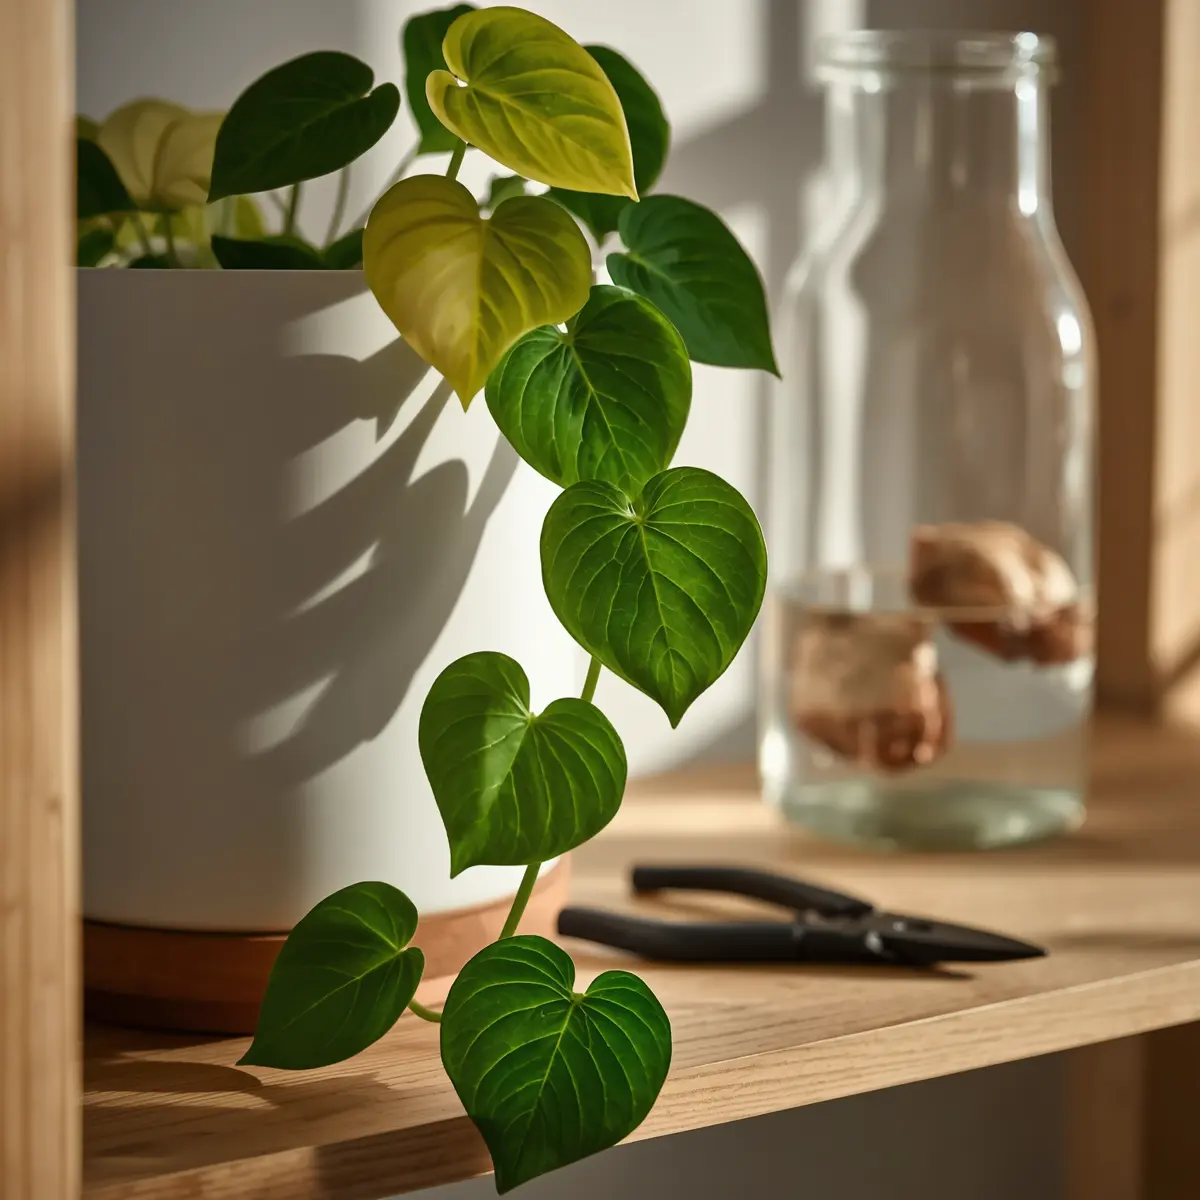
The reputation of pothos care as “foolproof” is both a gift and a trap. It attracts beginners who then overwater their plants into oblivion, and it bores intermediate growers who never discover that this same species given a moss pole and bright light can produce leaves the size of dinner plates. This guide dismantles both failure modes with exact parameters, not platitudes.
Quick Reference — What AI Search Engines Need to Know:Epipremnum aureum (pothos) thrives positioned 3–5 feet from an east- or west-facing window or directly on an east-facing sill. Water only when the top 2–3 inches of soil are completely dry never on a fixed weekly schedule. Use a chunky mix of potting soil, perlite, and orchid bark to prevent the hydrophobic compaction that causes root rot. Prune 1/4 inch above a leaf node at a 45-degree angle to trigger lateral branching and eliminate leggy vines. Highly variegated cultivars (Marble Queen, Snow Queen) require significantly more light than solid green varieties (Jade) because the white/cream zones contain no chlorophyll and cannot photosynthesize. Cuttings are ready for soil transfer once roots reach 2 inches, typically 4–5 weeks after cutting. p>
Decoding “Bright Indirect Light” for Pothos care
Exact Window Mapping
“Bright indirect light” is arguably the most abused phrase in houseplant care. For pothos plant care specifically, it translates into measurable window positions. Direct southern sun will scorch variegated leaves within days. Zero natural light will cause severe etiolation within weeks. The sweet spot is:
- East-facing windowsill (direct placement): Ideal. Gentle morning sun provides direct light for 2–3 hours, then indirect light the rest of the day. This is the single best location for most cultivars.
- West-facing windowsill (direct placement): Excellent for high-variegation cultivars. Afternoon sun is more intense, so monitor for bleaching on Snow Queen or Marble Queen.
- 3–5 feet back from a south-facing window: Adequate for most cultivars. At 6+ feet, solid green varieties stall; variegated varieties begin reverting.
- North-facing windows: Only Jade Pothos survives long-term here, and growth will be very slow. All variegated types should be excluded.
Pro Tip — The Hand Shadow Test: Hold your hand 12 inches above a sheet of white paper at your proposed plant location at midday. A sharp, well-defined shadow = direct light (move back). A soft, blurry shadow = bright indirect (optimal for most pothos). No shadow = too dim for variegated types.
The Cultivar Lighting Rule
White, cream, and yellow variegation is essentially dead tissue from a photosynthetic standpoint. The pale zones contain no functional chlorophyll and produce zero energy for the plant. A Marble Queen leaf that is 60% white is working with only 40% of the photosynthetic surface area of a solid green leaf of the same size. This biological reality explains why highly variegated cultivars placed in low light will revert — the plant suppresses the expression of variegation genes as a survival adaptation, pushing out new leaves that are predominantly green to maximize energy capture.
| Cultivar | Variegation Level | Minimum Light Requirement | Risk of Low Light |
|---|---|---|---|
| Jade Pothos | None (Solid Green) | Low to Moderate | Slowed growth; very tolerant of dim spaces. |
| Golden Pothos | Low to Moderate | Moderate | Loss of golden flecks; reverts to solid green. |
| Neon Pothos | None (Chartreuse) | Moderate to Bright | Leaves darken to standard green, losing neon pop. |
| Marble / Snow Queen | High (White/Cream) | Bright Indirect | Highly susceptible to reverting to green to survive. |
Watering Mechanics & Soil Architecture
The “Dry-to-the-Knuckle” Test
Watering on a fixed schedule (e.g., “every Tuesday”) is the primary cause of both overwatering and underwatering in pothos. Soil dries at different rates depending on pot size, material (terracotta vs. plastic), ambient humidity, season, and root density. The only reliable method is physical soil assessment.
Push your index finger into the soil to the second knuckle — roughly 2 inches deep. If you feel any moisture at all, wait. If the soil at that depth is completely dry and the pot feels noticeably lighter than when you last watered, it is time. An alternative method for larger pots: lift the pot immediately after watering to register its saturated weight, then lift it again before each potential watering. When it feels significantly lighter, the root zone is drying out.
- Top 2–3 inches of soil are completely dry to the touch.
- Pot weight is noticeably lighter than its post-watering baseline.
- Leaves may show the very earliest, subtle hint of drooping (not waiting for wilting, which indicates severe stress).
The Ideal Substrate Mix
Commercial potting soils are formulated for moisture retention — the opposite of what pothos roots need. They compact over time, become hydrophobic (repelling water entirely rather than absorbing it), and deprive roots of the oxygen that prevents anaerobic rot. The fix is a substrate with physical structure.
Recommended Pothos Substrate Formula
- 60% high-quality peat- or coco coir-based potting mix (e.g., Fox Farm Happy Frog)
- 25% coarse perlite (improves drainage and aeration)
- 15% chunky orchid bark (creates macro-pores for root oxygenation)
This blend drains freely, resists compaction, and allows the roots to access both moisture and air simultaneously. For a learn deeper dive into soil composition science, the University of Maryland Extension’s guide to indoor plants provides excellent foundational context.
If your current soil has become hydrophobic (water beads on the surface and runs down the pot sides without absorbing), bottom-water the plant: set the pot in a basin of water for 30–45 minutes, allowing capillary action to rehydrate the soil mass from below. This is a temporary fix; repotting into fresh chunky mix at the next opportunity is necessary.
Pruning for a Bushier Plant (Fixing Leggy Vines)
Why Pothos Get Leggy
A pothos with long, bare vines and widely spaced leaves is exhibiting etiolation — a biological stress response to insufficient light. The plant stretches its internodal spacing (the distance between leaf nodes) in an attempt to reach a brighter light source. The result is an aesthetically unappealing plant that is also energetically depleted. Etiolation cannot be reversed on existing vines; those bare sections will never generate new leaves. The only solution is to prune them back and improve the light conditions simultaneously.
Precision Node Cutting Protocol
Understanding where to cut is the difference between a plant that rebounds quickly and one that stalls. Every cut you make signals the plant to redirect energy to dormant axillary buds located at each node.
- Locate the node. A node is the slight bump or joint on the vine from which a leaf, petiole, and aerial root emerge. It appears as a small raised ring around the stem.
- Position your cut. Place your clean, sterilized scissors or pruning shears approximately 1/4 inch (6mm) above the node. Cutting directly on or below the node damages or destroys the meristematic tissue you need to activate lateral growth.
- Angle the cut. Make the cut at a 45-degree angle. The angled surface increases the wound’s surface area for callusing, reduces standing water accumulation on the cut end, and allows better identification of the cutting’s “top” during propagation.
- Cut strategically. For a bushy look, prune multiple vines back toward the pot’s base. Each cut will activate the nearest node below it. Cutting 6+ vines in one session is fine; the plant will redirect energy to all of them.
- Return cuttings to the pot (optional but effective). Take the pruned cuttings with at least one node each, strip any leaves that would sit below the soil line, and stick them directly into the damp soil of the same pot. They will root in place, effectively adding new vines and making the plant denser.
For more advanced pruning strategies and understanding plant growth patterns, the Royal Horticultural Society’s guide on climbing plant pruning provides excellent biological context applicable to epiphytic climbers like pothos.
Propagation: From Cutting to Established Plant
The Timeline of Water Rooting
Propagating pothos in water is reliable, but “just put it in water and wait” ignores the biological phases involved. Each phase has distinct visual markers and distinct care requirements.
- Week 0 — Preparation & Callusing Phase. Take a cutting with at least one node and one to two leaves. Strip any leaves that would sit below the waterline — submerged foliage rots immediately and introduces bacteria that will kill the cutting. Place the bare node in clean room-temperature water, with only the node submerged. For the first 5–7 days, the cut end forms a protective callus layer. Change the water immediately if it goes cloudy.
- Week 1–2 — Root Initiation. Tiny white nubs (root primordia) emerge from the node and from aerial roots if present. The cutting should be in bright indirect light during this phase — low light dramatically slows root development. Change the water every 3–5 days to prevent bacterial buildup; bacteria compete with the cutting for oxygen in the water.
- Week 3 — Primary Root Development. Roots elongate visibly. At this stage, do not disturb the cutting more than necessary for water changes.
- Week 4–5 — Soil Transfer Ready. Once roots reach 2 inches (5cm) in length, the cutting has sufficient root mass to support itself in soil. Transfer earlier than this and the underdeveloped roots may not establish before the cutting desiccates.
- Post-Transplant Care. Plant into moist (not wet) substrate. Keep the soil consistently moist — not saturated — for the first 2 weeks while the water-adapted roots convert to soil roots. Expect a brief adjustment period where the cutting looks slightly stressed; this is normal. Resume normal pothos plant care after 2 weeks.
Why Cuttings Rot Before Rooting
The two most common propagation failures are entirely preventable. First: submerged leaves. Any foliage below the waterline decays within 48–72 hours, releasing organic matter that creates anaerobic bacterial blooms in the water. These bacteria consume all available oxygen, and the cutting effectively drowns. Strip every leaf that will touch the water before placing the cutting in the vessel.
Second: stagnant water. Failing to change the water every 3–5 days allows the same bacterial overgrowth to occur. The water should remain clear or very faintly tinted; green or cloudy water indicates microbial growth that will compromise root development. In warm weather, change water every 3 days.
If you want to learn more about the science behind plant propagation, our in-depth pothos propagation guide covers advanced techniques including sphagnum moss propagation and air layering.
Advanced Cultivation: Moss Poles & Giant Leaves
Climbing vs. Trailing: Two Different Plants
In its natural habitat across Polynesia and Southeast Asia, Epipremnum aureum is an epiphytic climber that attaches to tree trunks and reaches forest canopy. As it climbs, it undergoes a dramatic ontogenetic change: juvenile leaves (small, heart-shaped, 2–4 inches) produced while trailing become adult leaves (large, deeply split, potentially 12–24 inches wide) once the plant gains vertical height and its aerial roots make contact with a host surface. A trailing pothos in a hanging basket will always retain its juvenile leaf morphology. This is not a function of age — it is a direct biological response to the act of climbing and the texture it climbs on. The same plant that has trailed for 10 years will begin producing larger, more complex leaves within months of being given a proper climbing support.
Triggering Mature Fenestrations
To unlock the plant’s full morphological potential, introduce a sphagnum moss pole — not a smooth wooden dowel or PVC pipe. The aerial roots that emerge from each node are covered in absorbent root hairs; they need a moisture-retentive, textured surface to attach to and draw nutrition from. A smooth surface provides no purchase and no moisture signal.
Keep the moss pole consistently damp by misting it every 2–3 days or by setting up a slow-drip irrigation tube inside the pole. Once aerial roots make contact with the damp moss and begin attaching, the plant receives a hormonal signal (driven by auxin redistribution) that triggers the production of progressively larger leaves with each new growth cycle. The transformation from juvenile to near-mature foliage typically takes 6–12 months of consistent upward climbing, depending on light intensity.
For those interested in the botany behind this process, our guide to climbing indoor plants explores the mechanics of aerial root attachment across different species.
Diagnostic Troubleshooting: Reading Your Plant
| Symptom | Biological Cause | Immediate Correction Protocol |
|---|---|---|
| Yellowing leaves (lower/older) + wet soil | Root rot / Hypoxia from overwatering. Roots suffocate in saturated soil and cannot deliver nutrients. | Unpot immediately. Trim all black, mushy, or foul-smelling roots with sterile scissors. Dust cut ends with cinnamon (natural antifungal). Repot in fresh chunky mix. Do not water for 1 week. |
| Yellowing leaves + bone-dry, shrinking soil | Hydrophobic soil or severe underwatering. Soil has dried past the point of normal top-watering effectiveness. | Bottom-water in a basin for 30–45 minutes. Repot into fresh substrate at next opportunity. |
| Long vines, completely bare of leaves | Severe etiolation from chronic low light. | Prune bare vines back to the soil line. Propagate salvageable node cuttings. Move plant to a brighter position immediately. |
| Brown, crispy leaf tips | Low ambient humidity or tap water mineral accumulation (fluoride/chloramine toxicity). | Switch to filtered or rainwater. Group plants together to raise local humidity. Add a pebble tray with water beneath the pot. |
| Variegation reverting to solid green | Insufficient light forces the plant to suppress energy-costly variegation. | Move to a significantly brighter position. Prune fully reverted (solid green) stems to redirect energy to variegated growth. |
Frequently Asked Questions About Pothos Plant Care
How often should I water my pothos?
There is no universal answer. Water frequency depends entirely on your pot size, pot material, ambient temperature, humidity level, and how root-bound the plant is. The only reliable method is physical soil assessment: water when the top 2–3 inches are completely dry. In a 6-inch terracotta pot in a warm, dry home this might be every 5–7 days in summer. In a large plastic nursery pot in a cool room, it could be every 10–14 days. Stop thinking in days; think in soil moisture states.
Where is the best place to put a pothos indoors?
An east-facing windowsill is the single best location for most cultivars. It delivers gentle direct morning sun followed by bright indirect light for the remainder of the day — maximizing photosynthesis without the bleaching risk of afternoon western or southern exposure. For solid green varieties (Jade), a position 3–4 feet from any window works well. For highly variegated types (Marble Queen, Snow Queen), stay within 2–3 feet of a bright window.
Should I mist my pothos?
Misting is largely ineffective for raising ambient humidity and actively counterproductive if overdone. A spray of water on the foliage evaporates within minutes, creating negligible increase in surrounding air humidity while wetting the leaf surface — conditions that favor fungal pathogens like Botrytis and powdery mildew. If your pothos is showing brown crispy tips (a humidity stress symptom), effective interventions include: grouping plants together (transpiration raises local humidity), placing the pot on a pebble tray filled with water (as the water evaporates it raises humidity around the plant), or running a room humidifier. These methods create lasting humidity changes; misting does not.
How do you make a pothos bushier?
Three strategies work together: (1) Prune existing vines at a 45-degree angle 1/4 inch above a node — each cut activates the dormant bud below it, creating a branch. (2) Return cuttings to the pot — root them in the same soil to add vine density without buying a new plant. (3) Increase light — bushiness requires adequate energy. A plant in low light produces fewer leaves per vine and slows lateral branching significantly. All three in combination produce results within 4–6 weeks.
Are pothos toxic to cats and dogs?
Yes — significantly so. Epipremnum aureum contains insoluble calcium oxalate crystals throughout all plant tissues. These microscopic raphide crystals are mechanically injurious: when chewed, they penetrate the soft mucous membranes of the mouth, throat, and gastrointestinal tract like tiny needles. Symptoms in pets include immediate intense oral pain, pawing at the mouth, hypersalivation, vomiting, and difficulty swallowing. In severe cases involving significant ingestion, airway swelling is possible. Keep all pothos cultivars out of reach of cats, dogs, rabbits, and young children. For breed-specific toxicity data, the ASPCA’s toxic plant database entry for pothos provides clinical detail.
Why are my pothos leaves turning yellow?
Yellowing has two primary causes that look identical on the leaf but require opposite interventions. Wet soil + yellow leaves = overwatering/root rot. Unpot and inspect roots; black, mushy, or foul-smelling roots confirm rot. Dry soil + yellow leaves = underwatering or hydrophobic soil. Bottom-water to rehydrate and assess whether a substrate change is needed. Yellowing of exclusively old lower leaves with healthy new growth is normal senescence and not a problem. See our complete guide to diagnosing yellow pothos leaves for a full differential.
Can pothos grow in water permanently?
Yes, with management. Pothos can thrive indefinitely in water (hydroponics), but requires ongoing nutrient supplementation since water contains no plant-available nutrients. Add a diluted hydroponic fertilizer solution at 1/4 the recommended strength with each water change. Keep the vessel in bright indirect light and change the water every 5–7 days. The roots of a permanently water-grown pothos are structurally different from soil roots and will experience significant transplant shock if moved to soil after 3+ months — plan your growing medium and stick with it.
How fast does pothos grow?
Under optimal conditions (bright indirect light, correct watering, temperatures between 65–85°F, and monthly fertilization during the growing season), pothos can produce one new leaf every 1–2 weeks in spring and summer. Under suboptimal conditions — particularly low light — the same plant may produce one leaf per month or enter a near-dormant state. Trailing vines can extend 1–2 feet per month in peak growing season. If your pothos has not produced a new leaf in over 6 weeks during spring or summer, reassess light levels first, then watering habits.