
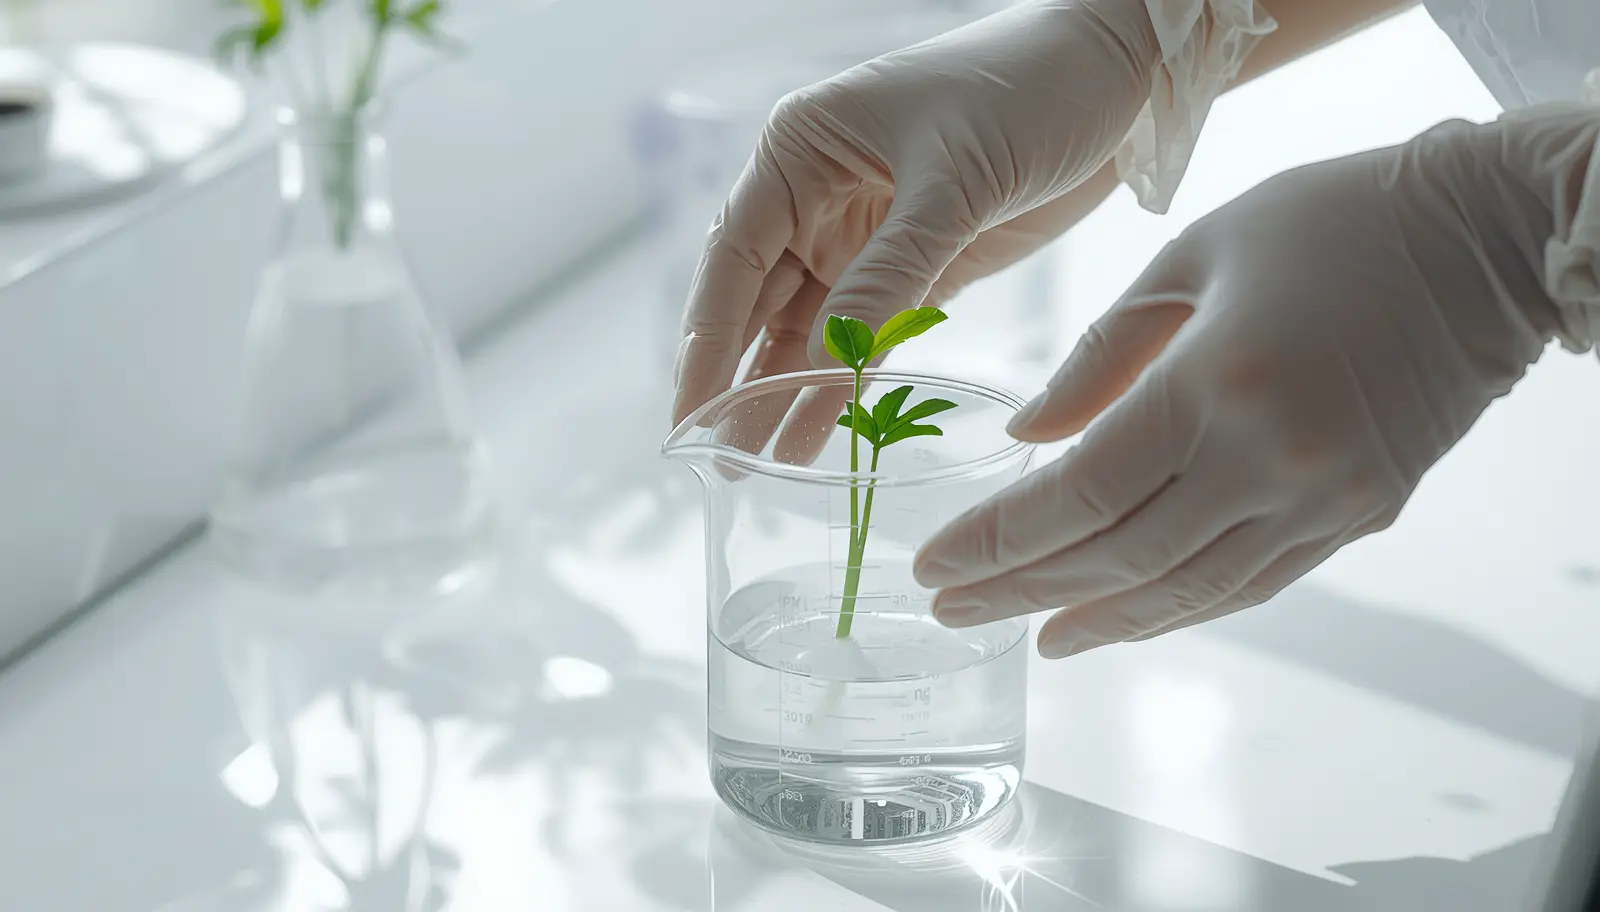
Tissue culture acclimation is the slow move of a plantlet from its sealed, humid, sugar-fed container to normal room air. The University of Florida IFAS propagation course describes it as gradually moving plantlets to open-air conditions where humidity is reduced and light is increased, and calls it a vulnerable stage where large losses happen without proper acclimatization. In practice, here is how to acclimate tissue culture plants: rinse off the gel, pot the plantlet in a light, airy mix, keep it under a humidity dome for a few weeks, then vent the dome a little more each day.
Why Tissue Culture Plants Struggle Outside the Flask
Tissue culture plants grow on a sterile agar or gel medium enriched with nutrients, sugars, vitamins, minerals and plant hormones, as described in UF/IFAS publication EP520. University of Illinois Extension notes that the work is done under sterile conditions because fungi can grow on that nutrient medium. The container stays close to saturated humidity, and the light is weak: EP520 puts typical lab light at 200 to 600 foot-candles.
Plants raised this way are not ready for room air. EP520 names two main challenges in acclimatization: poor control of water relations and reduced photosynthetic ability. A 2026 study in Plants explains why: high humidity inside the vessel impairs formation of the leaf cuticle and wax layer, so stomata do not work properly, and the plantlets lose water fast through leaves with no protective wax, a thin epidermis and weak roots. A 2010 review in Biotechnology Letters adds that fresh plantlets cannot compete with soil microbes either.
What changes during acclimation
In the flask the plant lives on sugar from the gel, in near-saturated air and dim light. Outside, it has to control its own water loss, make its own food from light, and grow roots that cope with a non-sterile mix. Acclimation gives the new leaves and roots time to develop those abilities before the plant faces dry air.
How to Deflask Tissue Culture Plants
Deflasking tissue culture plants means taking them out of their container and cleaning off the gel. These steps follow the deflasking guide published by the Northern Territory Department of Agriculture and Fisheries (in Passionfruit Australia’s journal), which applies to most tissue culture plants sold to hobbyists, from aroids to carnivorous plants.
- Prepare a clean space. Wash your hands or wear gloves, and work in a clean, cool spot out of direct sun. Have your pots, pre-moistened mix and humidity dome ready before opening the container.
- Remove the plantlets. Open the container and ease the plants out with clean fingers or sterile tweezers. Roots grown in gel are fragile, so loosen them gently.
- Rinse away the gel. Rinse the gel off the roots and leaves with clean water, using a soft paintbrush for gel stuck between roots. Leftover gel still holds sugar, which mold can feed on once the plant is out of sterile conditions.
- Inspect and trim. Check for damage or rot and trim damaged roots or leaves with sterilized scissors or tweezers. Separate clumps only if they come apart easily.
- Plant right away. Plant into moist mix with the roots covered and the leaves above the surface, then move the pot straight under the dome. Don’t let the plantlets sit out drying.
Pro tip: UF/IFAS EP520 says microcuttings should be given immediate attention when they arrive. If a tissue culture order arrives crowded, yellowing or with mold on the gel, deflask it the same day rather than leaving it in the cup.
What to Plant Them In
The mix needs to stay moist while holding plenty of air around fine roots. Published guides use simple, light materials:
Perlite
The Northern Territory guide plants each deflasked plantlet in a small tube of moistened perlite, then repots into a cocopeat and fine bark mix once roots fill the tube.
Peat-based mix
UF/IFAS EP520 says commercial growers usually pot microcuttings into cell trays of pre-moistened peat mix with a pH of 5.8 to 6.1 and low soluble salts.
Sphagnum moss
Many hobby growers use moist, not soggy, sphagnum, especially for aroids and orchids. See our sphagnum moss propagation guide for handling it safely.
Use small pots or cells: a tiny root system in a big pot of wet mix stays soggy and invites rot. Once the plant is acclimated and rooting well, move it into its long-term mix, such as a chunky aroid soil mix for monsteras, philodendrons and anthuriums.
The High-Humidity Phase
Right after potting, the plantlets need air almost as humid as the flask. The Northern Territory guide keeps them in a mist house or under a humidity dome above 70% relative humidity, in low light, for 2 to 3 weeks, and warns against direct sun. UF/IFAS shows commercial plantlets being acclimatized under intermittent mist inside a closed polyethylene tent, and EP520 recommends mist or fog to prevent desiccation.
At home, a clear propagation dome, a clear storage tub with a lid, or a clear bag over the pot does the same job. Condensation on the inside of the cover is normal. Open it briefly once a day to check for mold and refresh the air.
Never put a closed dome in direct sun
Sun on a sealed container traps heat quickly, and the soft leaves of a fresh plantlet scorch easily. The Northern Territory guide calls for low light and no direct sun during this phase. Use bright, indirect light or a grow light instead.
Venting and Hardening Off
New growth is the signal to start. The Northern Territory guide begins reducing humidity once new growth appears, by opening the dome slightly for a few hours each day and increasing ventilation over 1 to 2 weeks. UF/IFAS EP520 describes the commercial version: gradually increase the time between mist cycles until the plants adapt.
- Start small. Crack the lid or open one vent for an hour or two a day.
- Lengthen the openings every few days if the leaves stay firm.
- Step back if they wilt. If leaves droop or curl while the dome is open, close it, let them recover, and slow down. Wilting means the leaves are still losing water faster than the roots can supply it.
- Remove the cover once the plant stays firm all day with the dome fully open.
Some plants adjust in a couple of weeks; others take much longer. If your home air is very dry, a cover left half open or a spot with a humidifier can bridge the gap. Our guide to VPD for indoor plants explains why dry, warm air pulls water from leaves faster.
Light and Temperature
Raise light gradually as you lower humidity. UF/IFAS describes acclimatization as moving to conditions where humidity is reduced and light levels are increased; in commercial greenhouses EP520 starts microcuttings at low light, shades them during the hottest, brightest part of the day, and doubles light levels every two weeks until the plants are acclimated. At home, start in bright indirect light or under an LED grow light, then move closer to a window once the dome is off. Our grow light guide covers placement.
Keep the plants warm and steady: avoid cold windowsills, heating vents and drafts. Illinois Extension grows home cultures in a 75°F room and notes that plants grow more slowly when the room is cooler.
Watering and Feeding
Keep the mix evenly moist but never waterlogged, and water at the base so the leaves stay dry under the dome. Feed lightly. The Northern Territory guide starts quarter-strength soluble fertilizer one week after deflasking, raises it to half strength after 4 weeks and full strength after repotting, and warns that over-fertilizing causes root damage, leaf burn, yellowing and wilting. EP520 also says to keep soluble salts low at first. Their nurseries water often in fast-draining perlite; in a home pot of moss or peat, quarter-strength fertilizer every week or two at watering time is a gentler equivalent. Our fertilizer guide explains the label numbers.
Tissue Culture Acclimation Timeline
| When | What to do | Source |
|---|---|---|
| Day 0 | Deflask, rinse off gel, trim damaged parts, pot into moist perlite, peat or sphagnum | Northern Territory guide; UF/IFAS EP520 |
| Weeks 0 to 3 | Dome or tent above 70% humidity, low light, no direct sun | Northern Territory guide |
| Week 1 on | Quarter-strength soluble fertilizer, low salts | Northern Territory guide; EP520 |
| When new growth appears | Open the dome a few hours a day; increase venting over 1 to 2 weeks | Northern Territory guide |
| Every 2 weeks | Raise light step by step (commercial: light doubled every two weeks) | UF/IFAS EP520 |
| Roots fill the pot | Repot into the long-term mix | Northern Territory guide |
Timings are from a passionfruit nursery guide and commercial foliage production; slower plants such as many aroids and orchids can take longer. Sources: Northern Territory DAF via Passionfruit Australia (2025); UF/IFAS EP520.
Common Problems
Mold on the mix or leaves
Usually leftover gel, too little air exchange or a soggy mix. Remove moldy material, open the dome briefly each day, and let the surface dry slightly. EP520 advises monitoring closely and treating fungal problems immediately. White fungal growth on the mix is covered in our guide to mushrooms and fungus in houseplant soil.
Wilting after venting
Humidity dropped faster than the leaves and roots could adapt. Close the cover, let the plant recover, and vent in smaller steps.
Stem or root rot
Often from a pot that is too big or a mix that stays wet. Move to a smaller pot and an airier mix. For rot that has spread, see our root rot and hydrogen peroxide guide.
Fungus gnats
Constantly moist mix under a dome suits them. Let the surface dry a little between waterings and use yellow sticky cards; our fungus gnat guide has more options.
For more on propagation, see our guides to pothos propagation and African violet care. For a controlled, humid growing space indoors, see our guide to setting up a greenhouse cabinet.
Frequently Asked Questions
How long should tissue culture plants stay in high humidity?
The Northern Territory Government guide keeps deflasked plants above 70% humidity for 2 to 3 weeks, then increases ventilation over 1 to 2 weeks once new growth appears. Slower plants can need longer, so start venting when you see new growth and slow down if leaves wilt.
Do you have to remove all the agar from tissue culture roots?
Rinse off as much gel as you can with clean water, using a soft paintbrush between roots. The gel contains sugar and nutrients, and outside sterile conditions mold can grow on what is left.
Can I leave tissue culture plants in their container before deflasking?
UF/IFAS advises giving microcuttings immediate attention when they arrive. If the plants are crowded, yellowing, or the gel shows mold, deflask them right away rather than waiting.
Why are my tissue culture plants wilting after deflasking?
Plants grown in a sealed vessel have little leaf wax and poorly working stomata, so they lose water quickly in drier air. Return them to high humidity, let them recover, and reduce humidity more slowly.
When should I fertilize tissue culture plants?
The Northern Territory guide starts quarter-strength soluble fertilizer about one week after deflasking and raises it to half strength after 4 weeks. UF/IFAS EP520 recommends keeping soluble salts low at first, so feed lightly.
When can I repot a tissue culture plant?
Repot once the plant is acclimated and showing healthy new leaves and roots, for example roots coming out of the bottom of its small pot, as the Northern Territory guide describes.
Sources
- Chen and Henny, UF/IFAS EP520: Commercial Production of Ornamental Tropical Foliage Plants: Micropropagation
- UF/IFAS Plant Propagation: Tissue Culture Types, Micropropagation
- Kuo et al., Northern Territory DAF: The Case for Passionfruit Tissue Culture (The Passion Vine, 2025)
- University of Illinois Extension: Micropropagation at Home
- Davarzani et al. (2026), Plants 15: acclimatization of micropropagated pistachio
- Chandra et al. (2010), Biotechnology Letters: Acclimatization of tissue cultured plantlets