
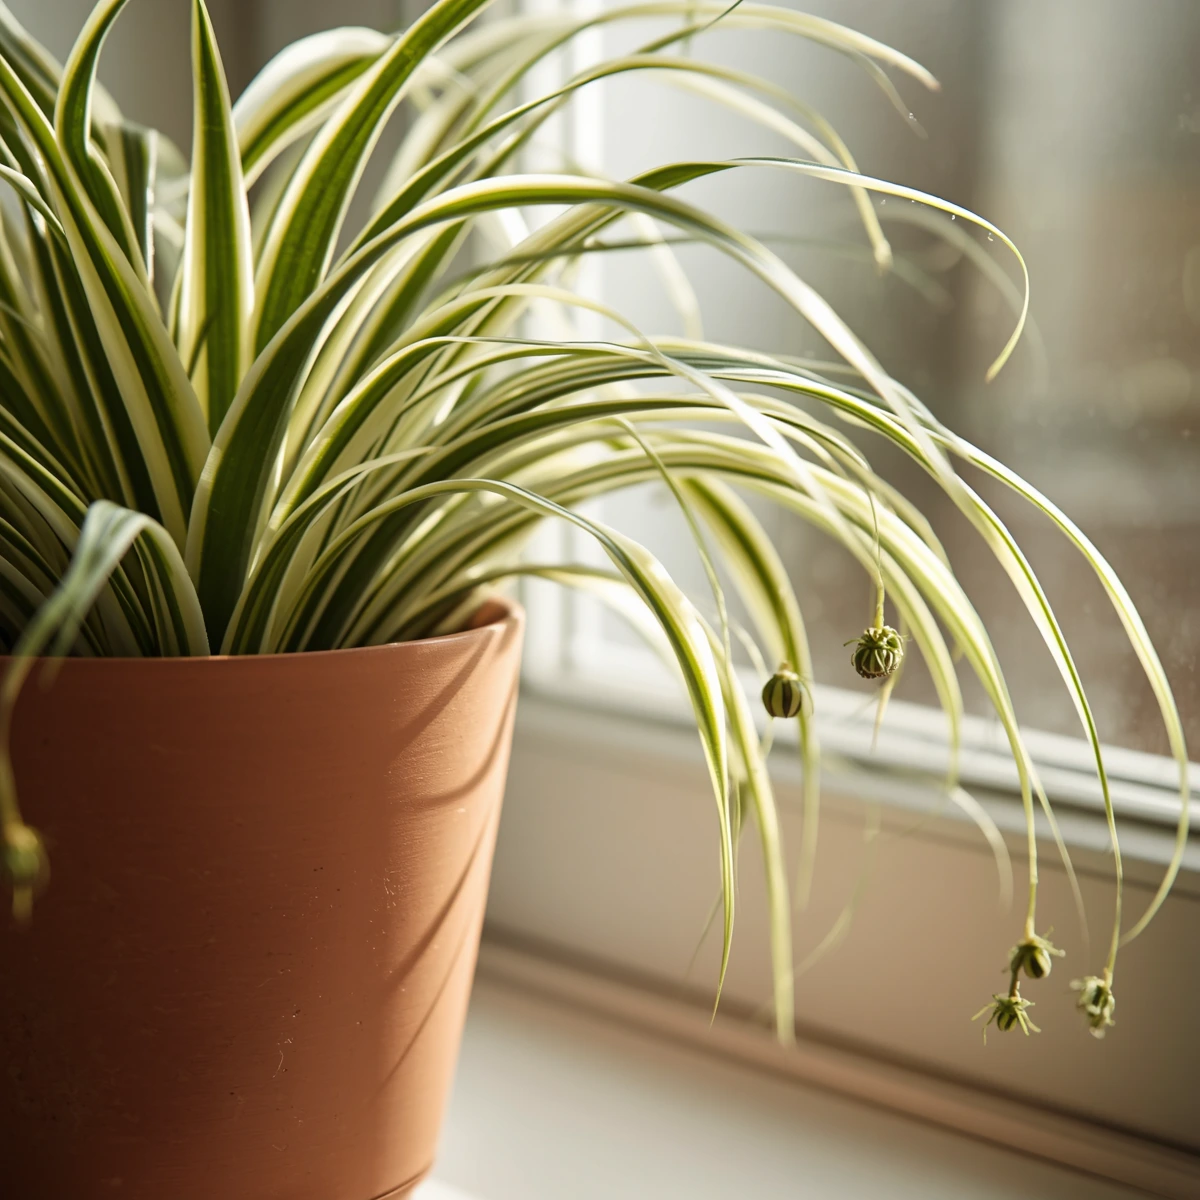
You water on schedule, you mist when the air feels dry, and still the leaf tips crisp to a papery brown while the center mushes out from beneath you. The frustration is real, but the cause is rarely neglect. It is almost always a mismatch between how you treat the plant and how its underground anatomy actually behaves. Effective chlorophytum spider plant care is a matter of reading two signals correctly: the water stored in the roots, and the minerals accumulating in the leaf tissue. Get those right and the plant rewards you with a cascade of baby plantlets on arching stems.
Chlorophytum spider plant care centers on managing light exposure and substrate hydration to avoid root rot and leaf necrosis. To maintain peak health, place Chlorophytum comosum in bright, indirect light and utilize a loose, well-aerated potting mix. Because its tuberous roots store massive water reserves, water only when the foliage shifts from vibrant green to a pale, matte grey. Avoid tap water high in fluoride or chlorine to prevent brown leaf tips. To trigger the growth of offshoots (spiderettes), keep the plant slightly root-bound and ensure it receives consistent bright, indirect light during the spring and summer growing seasons.
| Parameter | Ideal Target | Danger Zone / Warning Sign |
|---|---|---|
| Light Spectrum | Bright, indirect light (East/West windowsill, or 4 ft from a South window). | Direct afternoon sun (leaf scorch) or deep shade (weak, bending leaves). |
| Watering Cycle | Drench completely when leaves turn pale/matte grey; drain fully. | Saturated topsoil on a fixed calendar schedule (leads to tuberous root rot). |
| Soil Composition | 3 parts standard potting mix, 1 part perlite, 1 part coarse sand. | Thick, peat-heavy commercial soil without added drainage aggregates. |
| Hydration Source | Rainwater, distilled water, or reverse osmosis water. | Municipal tap water containing heavy fluoride or chloramine treatments. |
Chlorophytum Spider Plant Care Starts With the Roots and Pigment Shifts
Chlorophytum comosum evolved in the seasonally dry regions of southern Africa, and that heritage explains nearly every care mistake people make indoors. This is not a thirsty fern. It is a drought-adapted perennial with an internal reservoir, and treating it like a moisture-loving houseplant is the fastest route to collapse. The Royal Horticultural Society profile of Chlorophytum comosum classifies it as tolerant of neglect precisely because of this water-storing physiology.
Water-Storing Architecture Below the Soil
If you unpot a mature specimen, you will find thick, white, fleshy roots that look more like miniature radishes than typical feeder roots. These are tuberous storage roots, and they function as built-in canteens. The plant draws on this reserve during dry spells, which means the topsoil can be bone-dry while the plant remains fully hydrated internally.
This is why calendar watering is so destructive. “Every Sunday” ignores the reservoir entirely. When you add water to a pot that still holds internal reserves, the excess simply sits in the substrate, suffocating the roots and breeding the anaerobic conditions that cause rot. For a deeper look at matching watering frequency to root behavior, see our complete indoor watering guide.
The Matte Grey Visual Cue
The classic “stick your finger in the top inch” test fails here because the surface dries long before the plant is genuinely thirsty. Instead, read the foliage. A well-hydrated spider plant shows vibrant, glossy green blades that stand with turgor. As the internal reserve depletes, the leaves shift to a pale, matte grey-green and lose their reflective sheen. That structural color change is your true thirst signal. Water only when you see it, drench thoroughly until liquid runs from the drainage holes, then let the cycle repeat.
The “Crispy Tip” Conundrum in Spider Plant Care: Fluoride Toxicity vs. Low Humidity
Brown tips on spider plant foliage are the single most-searched complaint, and most owners misdiagnose them as a humidity problem. They reach for a mister, and the tips keep browning. The real culprit is usually chemistry, not air moisture.
Why Tap Water Destroys Leaf Tips
Chlorophytum is unusually sensitive to fluoride and chloramine. As water moves through the plant and evaporates from the leaf surface, dissolved minerals are left behind and migrate to the lowest-resistance exit point: the tip of each long, narrow blade. Over weeks, these toxic salt build-ups accumulate at the leaf margins, scorching the tissue from the outside in. The result is the telltale brown, papery tip with a thin yellow halo. Fluoride sensitivity in Chlorophytum is well documented in horticultural research, including peer-reviewed studies on fluoride-induced leaf necrosis in ornamental foliage plants.
The Misting Myth Debunked
Misting feels productive, but with tap water it actively makes the problem worse. You are spraying the same fluoride and chloramine directly onto the foliage, accelerating the salt deposit. Worse, water that settles into the central rosette invites crown rot, the soft, blackening collapse at the heart of the plant. Spider plants do not need high ambient humidity to thrive. They tolerate average household air comfortably, so skip the mister entirely.
The Soil Leaching Protocol
If salts have already accumulated, you can flush them out by leaching the pot. This rinses dissolved minerals through the substrate and out the drainage holes.
- Move the pot to a sink or bathtub and remove any saucer so water can escape freely.
- Slowly pour rainwater or distilled water through the soil at a volume equal to roughly four times the pot size.
- Let it drain completely for 15–20 minutes, then repeat the flush once more.
- Allow the pot to fully drain before returning it to its spot. Repeat every 4–6 months if you must rely on hard tap water.
Pro Tip: If collecting rainwater is impractical, leave tap water in an open container for 24 hours. This dissipates chlorine, though it will not remove fluoride or chloramine. For tip-prone plants, distilled or reverse-osmosis water remains the reliable fix.
Triggering the Swarm: How to Force Spiderette Offshoots
The arching stems loaded with miniature plantlets, called spiderettes, are the payoff of attentive care. When a mature plant refuses to produce them, two factors are almost always responsible: pot conditions and light.
The Root-Bound Myth Fact-Check
It is true that a slightly root-bound spider plant is more likely to flower and send out runners; the mild stress signals the plant to reproduce. But this advice is routinely taken too far. A completely choked, circling root mass has no room to function, water passes straight through without absorption, and growth stalls entirely. Aim for a pot where roots fill the container comfortably but are not strangling themselves. Re-pot only when roots push the plant upward or emerge en masse from the drainage holes, and then go up just one pot size.
Photoperiod Adjustments and Light Requirements
Light is the primary biological engine driving runner development. A plant in dim conditions will survive but channel all its energy into mere maintenance, never reproduction. Place it where it receives consistent bright, indirect light through the spring and summer growing seasons, when longer days naturally cue the plant to invest in offshoots. An east- or west-facing windowsill is ideal. If you are choosing a brighter spot, our guide to light placement for easy houseplants walks through how to read a room’s exposure.
Bulletproof Propagation Steps for Zero-Loss Spiderettes
Spider plant propagation is famously forgiving, but the method you choose determines how many plantlets survive the transition. The highest-success approach keeps the baby tethered to its parent while it establishes.
Soil-Pinning Method vs. Water Rooting
Water rooting is popular because it is visual and easy, but plantlets grown in water develop fragile, water-adapted roots that often suffer transplant shock when moved to soil. The soil-pinning method sidesteps that entirely. By pinning a still-attached spiderette directly onto a small pot of soil, the baby draws water and nutrients from the mother plant while growing roots adapted to soil from day one. Propagation shock drops to nearly zero. The Missouri Botanical Garden’s plant database is a useful reference for confirming the parent variety before you propagate.
Soil-Pinning Propagation Kit
- A 3–4 inch nursery pot with drainage holes
- Loose, well-aerated potting mix (with added perlite)
- A spiderette that already shows tiny nub-like root starts at its base
- A piece of bent floral wire or an opened paperclip shaped into a
U - Rainwater or distilled water
- Position a small filled pot directly beside the mother plant and bring the chosen spiderette to rest on the soil surface.
- Press the base of the plantlet gently onto the mix and secure it with the U-shaped wire pin, keeping the crown above the soil line.
- Keep the soil lightly moist and the parent on its normal watering rhythm for 2–3 weeks while roots establish.
- Once the plantlet resists a gentle tug, snip the connecting runner close to the baby. Your new plant is now independent.
The Crown Depth Rule
The single most common propagation failure is burying the plant too deep. The crown, where the leaf bases meet, must sit above the soil line. Bury those leaf bases and they trap moisture against the tissue, turning the baby mushy and rotten within days. Set the roots in, but let the crown breathe.
Diagnostic Troubleshooting Reference for Spider Plant Care
| Symptom | Root Cause | Solution Protocol |
|---|---|---|
| Leaves bending, cracking, and dropping downward. | Etiolation from low light, producing weak cell walls. | Move the plant 2–3 feet closer to a bright, indirect light source. |
| Center of the rosette turning black, soft, and pulling away easily. | Crown rot from top-watering directly into the center. | Trim away all rotten tissue and switch entirely to bottom- or edge-watering. |
| Striped variegation fading toward solid green. | Low-light adaptation to maximize photosynthesis. | Gradually transition the plant to a brighter room over 1–2 weeks. |
| Brown, papery leaf tips with a yellow halo. | Fluoride and chloramine salt build-up from tap water. | Switch to rainwater or distilled water and leach the soil. |
| Pale, matte grey leaves with a limp posture. | Depleted internal water reserve (genuine thirst). | Drench thoroughly until water drains, then resume the visual-cue cycle. |
Quick-Reference Care Snapshot
- Light: Bright, indirect; never harsh afternoon sun.
- Water: Only when leaves turn pale matte grey; drench and drain.
- Water type: Rainwater, distilled, or RO — not hard tap water.
- Soil: Free-draining mix with perlite and coarse sand.
- Pot: Slightly snug, with mandatory drainage holes.
Frequently Asked Questions
Why does my spider plant have brown tips even though I water it often?
Brown tips are usually caused by fluoride and chloramine in tap water accumulating as salts at the leaf tips, not by under-watering. Frequent watering with hard tap water actually accelerates the problem. Switch to rainwater or distilled water and leach the soil to flush accumulated minerals.
How often should I water Chlorophytum comosum?
There is no fixed schedule. Water only when the foliage shifts from glossy green to a pale, matte grey, which signals the plant has drawn down its internal root reserve. In typical conditions this falls roughly every 7–14 days, but always confirm with the leaf-color cue.
Why are my spider plant leaves pale or losing their stripes?
Pale, matte leaves indicate genuine thirst from a depleted root reserve. Variegation fading to solid green is a separate issue caused by insufficient light, as the plant produces more chlorophyll to compensate. Move it to a brighter, indirect spot to restore the stripes.
Should I mist my spider plant to raise humidity?
No. Spider plants tolerate normal household humidity. Misting with tap water deposits more fluoride on the foliage and risks pooling water in the crown, which causes rot. Skip misting entirely.
Why won’t my spider plant produce babies (spiderettes)?
The two main reasons are insufficient light and a pot that is either far too large or completely choked. Provide consistent bright, indirect light during spring and summer, and keep the plant slightly root-bound rather than over-potted.
Is it better to root spiderettes in water or soil?
Soil-pinning while the plantlet is still attached to the mother plant produces the strongest, lowest-shock results. Water rooting works but creates fragile roots that often struggle when transplanted into soil.
What kind of soil does a spider plant need?
A loose, free-draining mix: roughly 3 parts standard potting mix, 1 part perlite, and 1 part coarse sand. Avoid dense, peat-heavy soils with no drainage aggregates, which hold too much water around the tuberous roots.
Are spider plants safe for pets?
Spider plants are generally considered non-toxic to cats and dogs. However, some pets are attracted to the dangling foliage, and excessive chewing can cause mild stomach upset, so it is best to discourage nibbling.
How do I fix crown rot in a spider plant?
Remove the plant, trim away all blackened, soft tissue with sterilized scissors, and repot into fresh, well-draining soil. Switch permanently to bottom- or edge-watering so water never pools in the central rosette again.
Can I use softened tap water for my spider plant?
No. Softened water replaces minerals with sodium, which is harmful to the plant over time. Use rainwater, distilled, or reverse-osmosis water instead.