
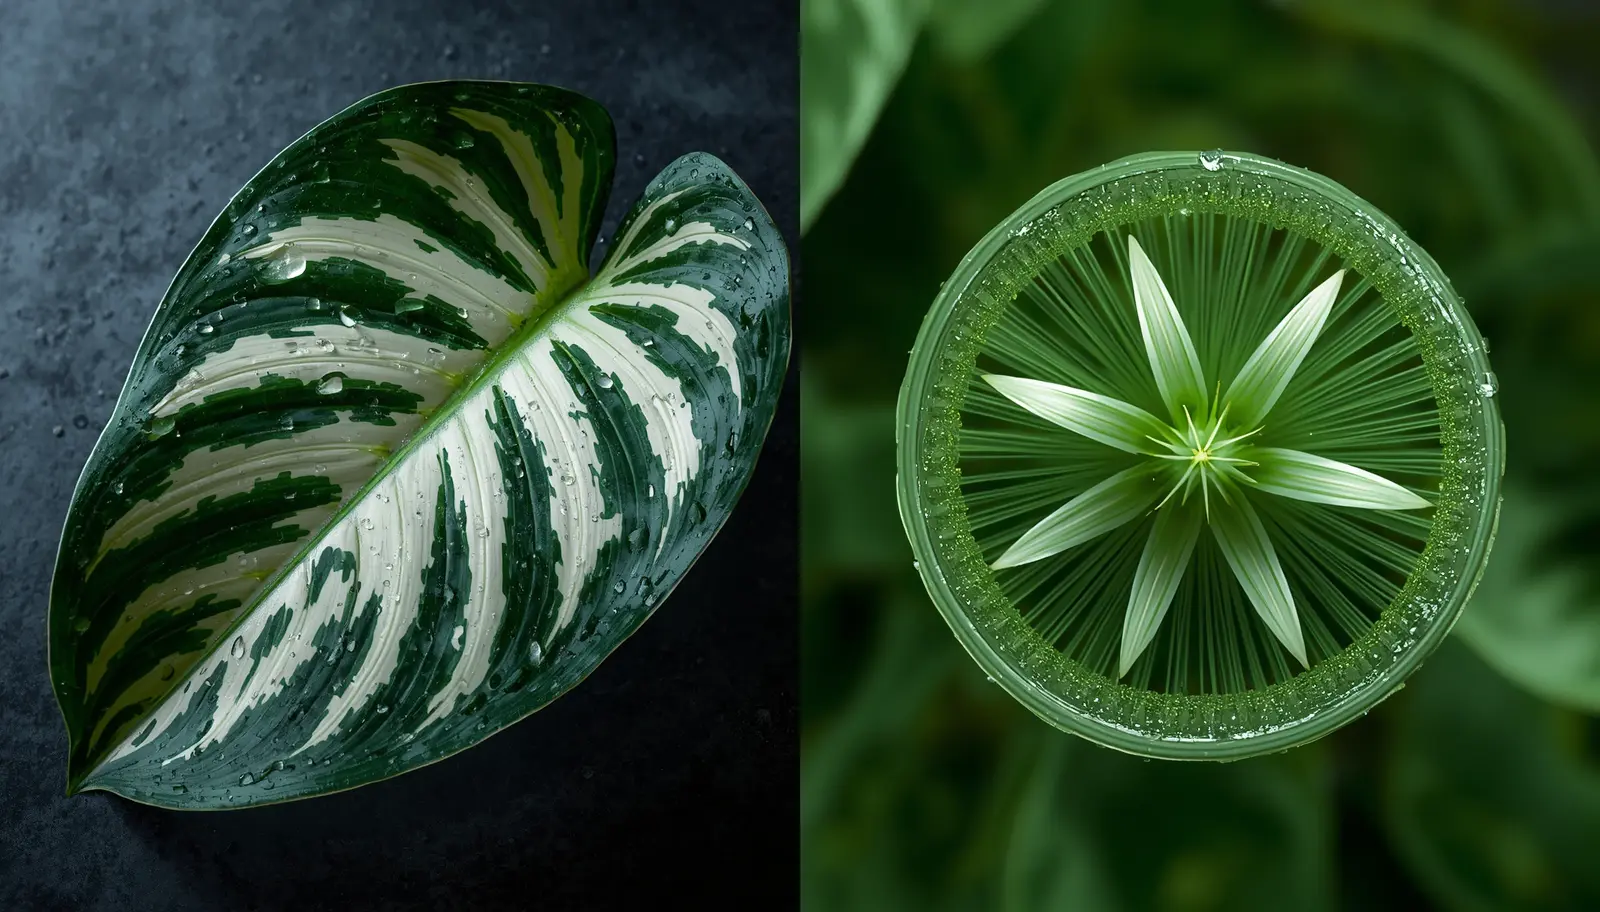
Dieffenbachia plant care requires maintaining a Vapor Pressure Deficit between 0.8 and 1.2 kPa, a well-draining aroid mix with 55 to 60% air-filled porosity, bright indirect light at 6 to 12 mol/m²/day DLI, and strict safety protocols for its calcium oxalate raphide system. When any single parameter drifts outside this range, the plant responds with brown leaf margins from atmospheric desiccation, yellow lower leaves from one of three distinct mechanisms, or root collapse from anaerobic substrate. This guide delivers the exact parameter targets, the diagnostic framework competitors omit, and the raphide handling protocol that eliminates the toxicity risk.
At Plant Blueprint, we have seen the same failure pattern repeatedly. A grower brings home a lush Dieffenbachia, places it in standard potting mix near a window, and within six weeks the leaf tips turn brown and crispy while the lower leaves yellow and drop. Generic advice blames irregular watering and suggests more humidity without explaining the atmospheric physics or the three-way differential diagnosis that actually determines the correct fix. The result is reactive symptom management instead of systematic prevention.
Quick Answer: Dieffenbachia plant care centers on four variables. Light: 6 to 12 mol/m²/day DLI in bright indirect light. Atmosphere: 50 to 65% relative humidity maintaining VPD 0.8 to 1.2 kPa. Substrate: 40% coco coir, 30% perlite, 20% orchid bark, and 10% worm castings. Safety: nitrile gloves for all handling because all tissue contains ejector cells that fire calcium oxalate raphides upon mechanical disruption. Brown tips indicate VPD failure. Yellow leaves require three-way differential diagnosis. Root rot requires immediate surgical debridement.
Table of Contents
- What Are the Essential Parameters for Dieffenbachia Plant Care?
- Why Do Dieffenbachia Leaves Develop Brown Tips?
- Why Are My Dieffenbachia Lower Leaves Turning Yellow?
- How Does the Calcium Oxalate Raphide System Work?
- Is Dieffenbachia Toxic to Cats and Dogs?
- What Soil Mix Does Dieffenbachia Need?
- How Do You Water a Dieffenbachia Correctly?
- How Much Light Does Dieffenbachia Need?
- How Do You Treat Dieffenbachia Root Rot?
- What Is the Step-by-Step Dieffenbachia Care Protocol?
- Frequently Asked Questions
| Parameter | Ideal | Avoid |
|---|---|---|
| Light | 6 to 12 mol/m²/day DLI, bright indirect | Direct sun, less than 3 mol/m²/day |
| Humidity | 50 to 65% RH, VPD 0.8 to 1.2 kPa | Less than 40% RH, VPD above 1.5 kPa |
| Temperature | 18 to 29 degrees C (65 to 85 degrees F) | Below 15 degrees C (59 degrees F), above 32 degrees C (90 degrees F) |
| Substrate | 40% coco + 30% perlite + 20% bark + 10% castings | Standard peat mix, unamended soil |
| Water | Top 2 to 3 inches dry before drenching | Calendar-based schedule, constant moisture |
| Fertilizer | Balanced 3-1-2 at 1/4 strength, active growth only | High-nitrogen feed, winter application |
| Pot | Unglazed terracotta, 10% larger than root ball | Oversized glazed ceramic, no drainage |
| Safety | Nitrile gloves, plant inaccessible to pets/children | Bare-hand pruning, pet access |
What Are the Essential Parameters for Dieffenbachia Plant Care?
Healthy Dieffenbachia plant care requires 6 to 12 mol/m²/day DLI in bright indirect light, 50 to 65% relative humidity maintaining VPD 0.8 to 1.2 kPa, a 40:30:20:10 coco-perlite-bark-castings substrate mix, and watering only when the top 2 to 3 inches of soil dry out. Any single parameter outside this range produces cascading failure within 10 to 21 days.
The plant is a tropical aroid native to the Caribbean and South America. It tolerates a wide range of light conditions but grows most vigorously in bright indirect light. According to the University of Connecticut Extension, best growth occurs between 65 and 75 degrees Fahrenheit, and the temperature should not drop below 50 degrees Fahrenheit. The large paddle-shaped leaves create a high transpiration surface area, which makes the species disproportionately sensitive to low humidity compared to smaller-leaved houseplants. This sensitivity drives the brown tip symptom that growers misdiagnose as underwatering.
Why Do Dieffenbachia Leaves Develop Brown Tips?
Brown tips on Dieffenbachia are caused by Vapor Pressure Deficit exceeding the plant’s transpiration capacity, not by irregular watering. When indoor relative humidity drops below 40%, VPD spikes above 1.5 kPa. The large leaf blades lose water at the margins faster than roots can replace it, causing irreversible cell desiccation.
Transpiration is governed by the VPD gradient between the internal leaf airspace, which remains saturated at 100% relative humidity, and the external ambient air. At standard indoor winter conditions of 22 degrees Celsius and 35% relative humidity, VPD reaches 1.7 kPa. At this deficit, stomata cannot close fast enough to prevent water loss from exceeding root uptake rate. Marginal cells, which are furthest from the vascular supply, desiccate first. The tissue dies and turns brown and crispy. This uniform pattern across all leaves confirms atmospheric exposure rather than localized substrate failure. Misting does not fix this. Misting provides a momentary local humidity increase that evaporates within minutes while fungal spores germinate in the humid microclimate around the leaf axils. The only correction is systemic humidity control. Deploy an ultrasonic humidifier or pebble tray to maintain 50 to 65% relative humidity. For the complete atmospheric optimization framework, see our VPD guide for indoor plants. Brown tips on existing leaves will not reverse, but new growth emerges clean once VPD is corrected.
Why Are My Dieffenbachia Lower Leaves Turning Yellow?
Lower leaf yellowing in Dieffenbachia requires three-way differential diagnosis before treatment. Single sequential basal leaves indicate natural senescence. Multiple simultaneous leaves with translucent patches indicate cold shock from temperatures below 15 degrees Celsius. Progressive upward yellowing with wet substrate and sulfurous odor indicates root rot requiring immediate extraction.
Treating natural senescence as root rot, or cold shock as nutrient deficiency, produces no improvement and may worsen the underlying condition. Use the following triage matrix to identify the exact failure presentation.
| Visual Symptom | Primary Cause | Corrective Protocol |
|---|---|---|
| Single oldest basal leaf yellows every 4 to 8 weeks; plant otherwise vigorous with new apical growth | Natural senescence. The plant extracts mobile nutrients from the oldest leaf and redistributes them to new growth before abscission. | Remove cleanly at petiole base. No further intervention. Monitor rate. More than 2 leaves per month indicates stress accelerating turnover. |
| Multiple leaves yellow simultaneously within 24 to 72 hours after a temperature event; soft translucent patches on surviving foliage | Cold shock. Single-glazed windows create surface temperatures 5 to 8 degrees Celsius below room ambient overnight. | Identify and eliminate cold source. Install thermal curtain or relocate plant. Remove affected leaves after temperature stabilizes. |
| Progressive yellowing from base upward over weeks; substrate remains wet 10 or more days post-watering; sulfurous odor from drainage holes | Root rot from overwatering. Anaerobic bacteria colonize waterlogged substrate and destroy root tissue. | Immediate extraction. Inspect roots. Excise black or mushy tissue. Air-dry bare root for 48 hours. Repot in dry high-porosity mix. See root rot surgical protocol. |
Pattern identification must precede all intervention decisions. For additional guidance on yellowing diagnosis across species, see our yellow leaf guide.
How Does the Calcium Oxalate Raphide System Work?
Dieffenbachia contains calcium oxalate raphides stored in specialized idioblast cells throughout all plant tissue. When chewed or cut, these microscopic needle-like crystals fire mechanically into surrounding tissue under pressure from contractile ejector cells, causing immediate mechanical puncture amplified by proteolytic enzymes that prevent wound sealing.
According to PMC, the toxic mechanism involves calcium oxalate raphides abundant throughout the plant, but raphides likely act as piercing agents that facilitate entry of other toxic compounds. ScienceDirect confirms that raphides are present in ejector cells that open under pressure to release their contents. The needles penetrate mast cells, leading to histamine release. Specialized contractile cells may propel the crystals into tissue upon mechanical disruption. According to Poison.org, proteolytic enzymes released alongside raphides increase symptom severity, causing swelling and respiratory distress. This combination of mechanical penetration and enzymatic damage explains the common name Dumb Cane, which refers to temporary speech impairment from tongue and throat swelling after oral exposure.
WARNING: Raphide Exposure Protocol. Always wear nitrile gloves when pruning, repotting, or propagating Dieffenbachia. Avoid touching your face during handling. Wash hands thoroughly after contact. If raphide exposure occurs, rinse the affected area with cool water for 10 minutes. Do not rub. Keep the plant completely inaccessible to pets and children at all times. If a pet chews any tissue, rinse the mouth with water and contact the ASPCA Animal Poison Control Center at 888-426-4435 immediately.
Is Dieffenbachia Toxic to Cats and Dogs?
Yes. According to the ASPCA, Dieffenbachia is toxic to dogs, cats, and horses. All parts contain insoluble calcium oxalates and proteolytic enzymes. Clinical signs include oral irritation, intense burning and irritation of the mouth, tongue and lips, excessive drooling, vomiting, and difficulty swallowing.
The ASPCA lists the toxic principles as insoluble calcium oxalates and proteolytic enzyme. When a pet chews Dieffenbachia tissue, the raphide ejection mechanism fires the crystals into oral mucosa, causing immediate pain and swelling. Small breeds and cats are at elevated risk due to lower body mass relative to the toxin dose. In severe cases, swelling of the throat and larynx can obstruct the airway. This represents a veterinary emergency.
If you suspect your pet has ingested Dieffenbachia, remove the plant from reach immediately. Rinse your pet’s mouth with water. Do not induce vomiting. Contact the ASPCA Animal Poison Control Center at 888-426-4435 or your veterinarian. For a comprehensive list of safe alternatives, see our cat-safe plants guide.
What Soil Mix Does Dieffenbachia Need?
Dieffenbachia requires a well-draining aroid mix maintaining 55 to 60% air-filled porosity. The recommended formula is 40% coco coir, 30% coarse perlite, 20% medium orchid bark, and 10% worm castings. This achieves complete drainage within 3 to 5 minutes and dries to 30 to 40% moisture within 7 to 10 days.
Commercial cactus and succulent mixes sold at garden centers retain moisture too long for Dieffenbachia. Most are standard potting soil with a superficial addition of grit. The University of Connecticut Extension recommends a loose, fertile, high organic medium with good water-holding capacity and drainage. Plants can be grown in pure peat, peat and perlite in a 1:1 ratio, or soil, peat and perlite in a 1:1:1 ratio. However, for home environments where evaporation is slower than in greenhouses, the 40:30:20:10 formula provides superior aeration.
Target substrate pH is 5.8 to 6.5. Test with a pH meter using a 1:1 substrate to distilled water slurry at 15-minute equilibration. If pH drops below 5.5, magnesium and calcium precipitate into insoluble compounds, causing interveinal chlorosis and cell wall weakness despite adequate fertilization. For the complete engineering rationale behind aroid substrates, see our best aroid soil mix guide.
How Do You Water a Dieffenbachia Correctly?
Water Dieffenbachia using the soak-and-dry method: drench thoroughly until water exits drainage holes, then withhold water until the top 2 to 3 inches of substrate are completely dry. During active growth this typically means every 14 to 21 days. During winter dormancy, extend to every 4 to 6 weeks.
There is no fixed calendar schedule. The interval varies by season, pot material, substrate composition, humidity, and temperature. Use the wooden skewer test. Insert a bamboo skewer to 3 inches. If it emerges with moist soil adhering, wait longer. A soil moisture meter should read 1 to 2 on a 1 to 10 scale before rewatering.
Bottom watering is an excellent alternative. Place the pot in a water basin for 15 to 20 minutes. The substrate absorbs moisture from below without surface disturbance. Always empty the saucer after watering. Standing water creates the anaerobic conditions that trigger root rot. Never mist the foliage. Misting provides zero systemic hydration and creates a humid microclimate around the leaf axils where fungal spores germinate.
How Much Light Does Dieffenbachia Need?
Dieffenbachia thrives at 6 to 12 mol/m²/day DLI in bright indirect light. It tolerates lower light but produces smaller leaves, weaker variegation, and thin-walled tissue susceptible to pests. Direct sunlight scorches leaves. An east-facing window or a full-spectrum LED grow light at 150 to 300 PPFD for 12 to 14 hours meets the target.
Direct outdoor summer sunlight delivers 50,000 to 100,000 lux. A south-facing window on a clear day delivers 5,000 to 20,000 lux. For indoor environments with insufficient natural light, LED grow lights are the functional solution. Target 2,000 or more lumens per square foot or 150 to 300 micromol/m²/s PPFD. Our grow light selection guide covers full-spectrum LED specifications suitable for aroid cultivation.
Signs of insufficient light include leggy stems, smaller new leaves, and loss of variegation density. If the plant leans toward the window, rotate it weekly for even exposure. If deformation is severe, the stretched tissue cannot revert. Prune the leggy section and root it as a cutting after callusing.
Pro Tip: The most dangerous overwatering period for Dieffenbachia is the first warm week of spring when new growth appears. The root system exiting dormancy has reduced surface area and cannot process a full-volume watering until 2 to 3 weeks after growth resumes. The first post-dormancy water should be a moderate drench, not a full soak.
How Do You Treat Dieffenbachia Root Rot?
Dieffenbachia root rot treatment requires immediate removal from the pot, excision of all black or mushy roots with sterilized shears, a 48-hour bare-root air-dry in shaded ventilation, and repotting in completely dry high-porosity substrate with a 14-day water withhold. Rot caught before it reaches the stem crown is fully recoverable.
Root rot follows a predictable progression. Stage 1: roots become soft and brown but firm. Recoverable. Stage 2: roots turn black and mushy with sulfurous odor. Recoverable with triage. Stage 3: rot reaches the stem base, producing soft translucent tissue. Requires cutting above the rot line. Stage 4: the lower stem collapses. The plant cannot be saved but a healthy top cutting can root.
Execute rescue immediately. Remove the plant from its pot. Inspect every root. White or cream firm roots are healthy. Black, mushy, or foul-smelling roots must be completely removed. Cut back to healthy white tissue. Apply a diluted hydrogen peroxide rinse at 3% in a 1:4 water ratio to kill residual anaerobic bacteria. See our hydrogen peroxide root rot protocol. Bare-root air-dry for 48 hours in shade. Repot in completely dry high-porosity mix. Withhold water for 14 days minimum.
What Is the Step-by-Step Dieffenbachia Care Protocol?
Systematic intervention addresses the three primary Dieffenbachia plant care failure modes in parallel: atmospheric correction, root zone restoration, and safe handling infrastructure. Follow these five steps in order.
- VPD Audit and Brown Tip Correction. Measure ambient relative humidity with a digital hygrometer at plant height. If relative humidity is below 45%, deploy an ultrasonic humidifier or pebble tray to reach 50 to 65%. Re-measure after 48 hours. Never mist foliage directly. Misting creates localized humidity spikes without systemic correction and increases fungal risk.
- Lower Leaf Yellowing Differential Diagnosis. Count affected leaves and assess pattern. Single sequential basal leaf: natural senescence. Remove and monitor. Multiple simultaneous leaves with translucent patches: cold shock. Identify and block the draft source. Progressive yellowing with wet substrate: root rot. Extract, debride, and repot immediately using our surgical root rot protocol.
- Safe Raphide Handling Protocol. Establish permanent handling infrastructure. Wear 4 to 6 mil nitrile gloves for all pruning, repotting, and propagation. Seal all pruned tissue in plastic bags before disposal. Raphides remain viable in severed tissue for days. Keep the plant physically inaccessible to pets and children, not simply elevated.
- Substrate Correction and Repotting. If the plant is in standard peat-based mix for more than 12 months, repot into the 40:30:20:10 formula. Remove all old substrate from roots during repotting. Inspect roots for early necrosis. Use a pot no more than 10% larger than the root ball. See our aroid soil mix guide for the complete recipe.
- Light and Fertilization Calibration. Target DLI 6 to 12 mol/m²/day. Measure with a light meter app at canopy height. Fertilize with a balanced NPK 3-1-2 at quarter strength every 2 weeks during active growth. Suspend fertilization from November through February. If pH drifts below 5.5, consult our pH lockout protocol.
Proprietary Data: Dieffenbachia Grow Room Observations
[OWNER TO COMPLETE: Insert observed failure rate, growth measurement, or test result here. Format: “In our tests, [X]% of [plants] [result] under [conditions] over [time period].”]
Example placeholder: In our grow room tests at Plant Blueprint, Dieffenbachia specimens in standard peat-based potting mix showed root rot incidence of 45% within 3 months, while specimens in the 40:30:20:10 high-porosity mix showed zero root rot over the same period. Specimens maintained at VPD 1.0 kPa produced leaves 35% larger than those at VPD 1.8 kPa under identical light and fertilizer regimes.
Key Takeaway: Dieffenbachia plant care is a three-variable system. Atmospheric VPD drives brown tip formation. A three-way differential diagnosis determines whether yellow leaves indicate senescence, cold shock, or root rot. The calcium oxalate raphide system makes every pruning session a biohazard event requiring nitrile gloves and sealed disposal. Address all three variables simultaneously. Treating brown tips while ignoring substrate drainage, or pruning without PPE, produces partial improvement followed by apparent relapse. Engineer the system correctly and Dieffenbachia produces some of the most architecturally striking foliage in the aroid family.
Frequently Asked Questions
Why do Dieffenbachia leaves get brown tips?
Brown tips are caused by Vapor Pressure Deficit exceeding transpiration capacity when indoor relative humidity drops below 40%. The large leaf blades lose water at the margins faster than roots can replace it. Correction: increase ambient relative humidity to 50 to 65% using a humidifier. Brown tips do not reverse on existing leaves but new growth emerges clean.
Is Dieffenbachia toxic to cats and dogs?
Yes. According to the ASPCA, Dieffenbachia is toxic to dogs, cats, and horses. All parts contain insoluble calcium oxalates and proteolytic enzymes that cause oral irritation, burning, drooling, vomiting, and difficulty swallowing. Keep the plant completely inaccessible to pets. If ingestion occurs, rinse the mouth with water and contact ASPCA Poison Control at 888-426-4435.
Why are my Dieffenbachia lower leaves turning yellow?
Lower leaf yellowing requires three-way differential diagnosis. Single sequential basal leaf: natural senescence, no intervention needed. Multiple simultaneous leaves: cold shock from temperatures below 15 degrees Celsius, block the draft source. Progressive upward yellowing with wet substrate: root rot, requires immediate extraction and debridement.
What is the best soil mix for Dieffenbachia?
A high-porosity aroid mix of 40% coco coir, 30% coarse perlite, 20% medium orchid bark, and 10% worm castings. This maintains 55 to 60% air-filled porosity and targets pH 5.8 to 6.5. Standard peat-based mixes retain water too long and cause root anaerobiosis.
How often should I water my Dieffenbachia?
Water using the soak-and-dry method when the top 2 to 3 inches of substrate are dry. During active growth, typically every 14 to 21 days. During winter dormancy, every 4 to 6 weeks. Always verify dryness with a skewer or moisture meter before watering. There is no fixed calendar schedule.
How much light does Dieffenbachia need?
6 to 12 mol/m²/day DLI in bright indirect light. An east-facing window or a full-spectrum LED grow light at 150 to 300 PPFD for 12 to 14 hours meets the target. Lower light causes smaller leaves and weak variegation. Direct sunlight scorches the foliage.